220215_스프링 입문_스프링 부트 시작하기_Response 내려주기 및 모범사례_패스트캠퍼스 챌린지 23일차
<2022년 02월 15일 _ 패스트캠퍼스 챌린지 23일차>
[스프링 입문_스프링 부트 시작하기_Response 내려주기 및 모범사례]
1. Response 내려주기 실습
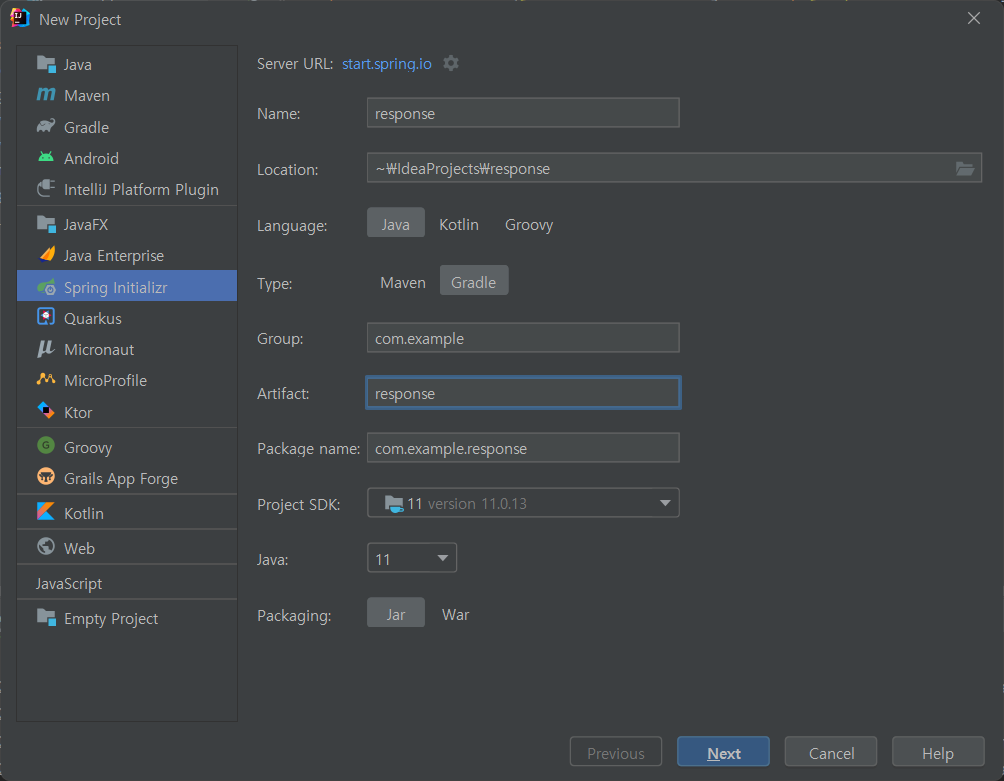
(1) File > New > Project
: Language(Java), Type(Gradle), Artifact(response), Java(11), Packaging(Jar)
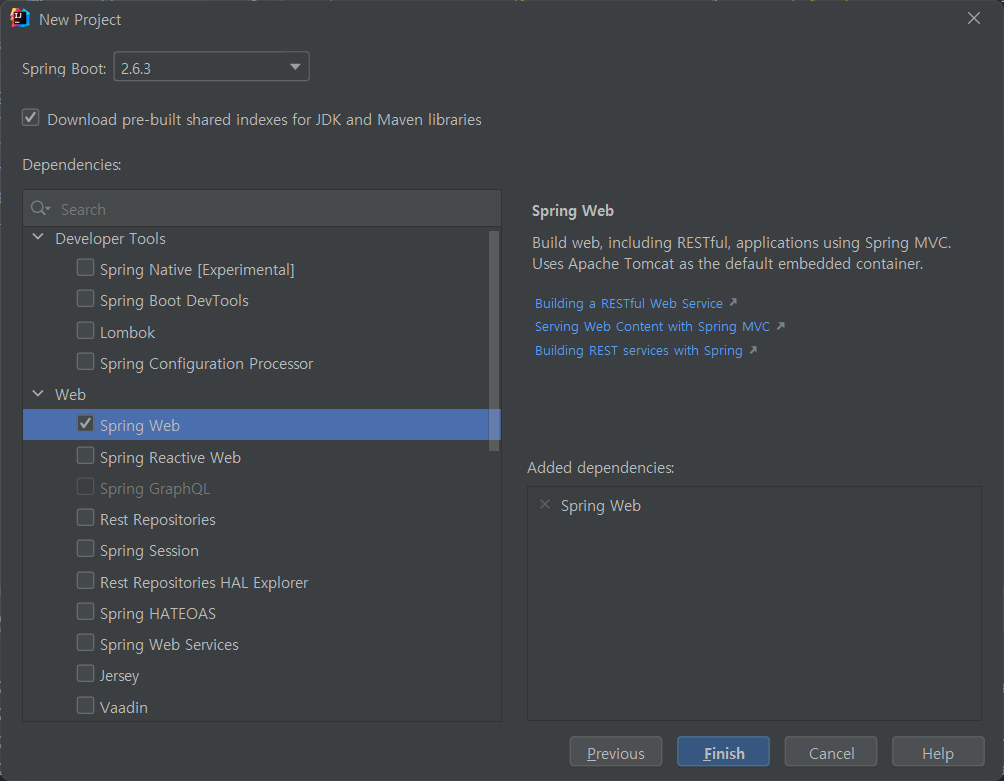
: Web > Spring Web 체크

(2) controller 패키지를 추가해주고, ApiController 클래스를 추가해준다


package com.example.response.controller;

import org.springframework.web.bind.annotation.GetMapping;
import org.springframework.web.bind.annotation.RequestMapping;
import org.springframework.web.bind.annotation.RequestParam;
import org.springframework.web.bind.annotation.RestController;

@RestController
@RequestMapping("/api")
public class ApiController {

    @GetMapping("/text")
    public String text(@RequestParam String account){
        return account;
    }
}
(3) 실행하여 Talend API에서 테스트한다 (GET)
: http://localhost:8080/api/text?account=user100
| Content-Type: | text/plain;charset=UTF-8 |
| Content-Length: | 7 bytes |
| Date: |
Tue, 15 Feb 2022 11:05:03 GMT
|
| Keep-Alive: | timeout=60 |
| Connection: | keep-alive |
(4) Text가 아닌 Json 형식으로 Response 해보자
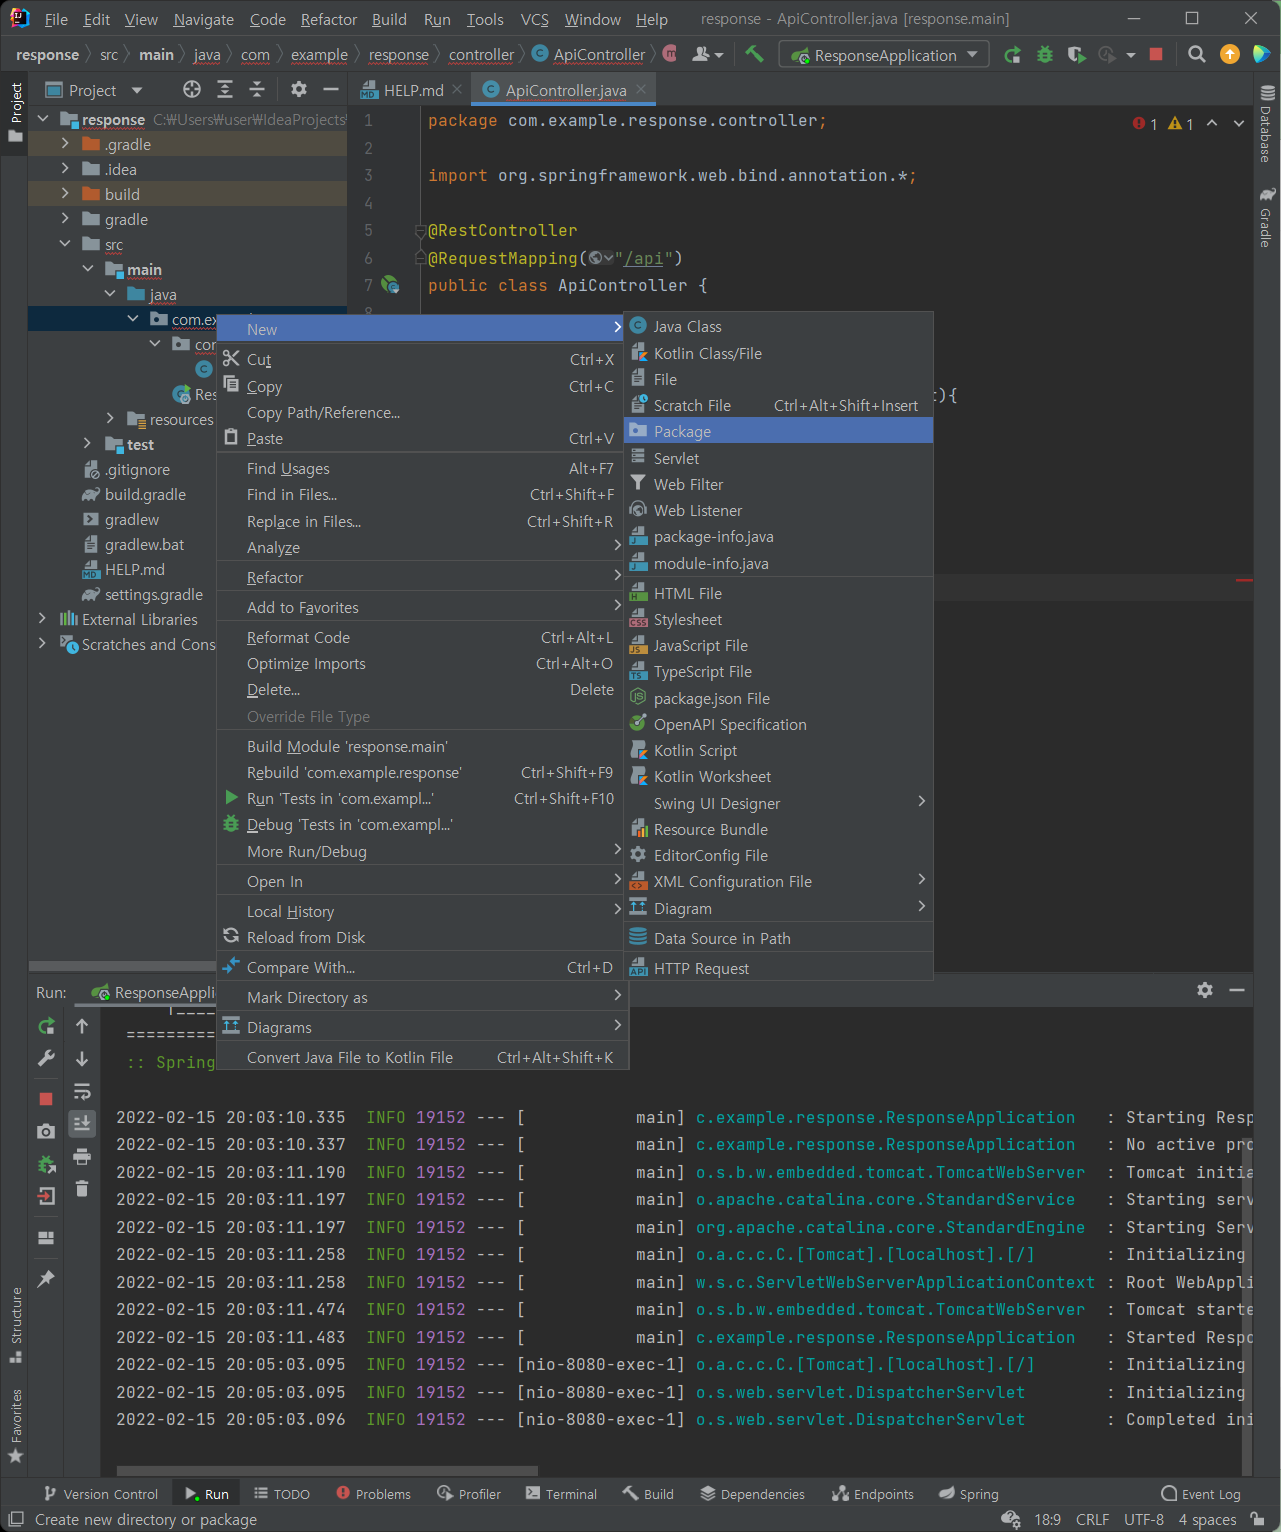
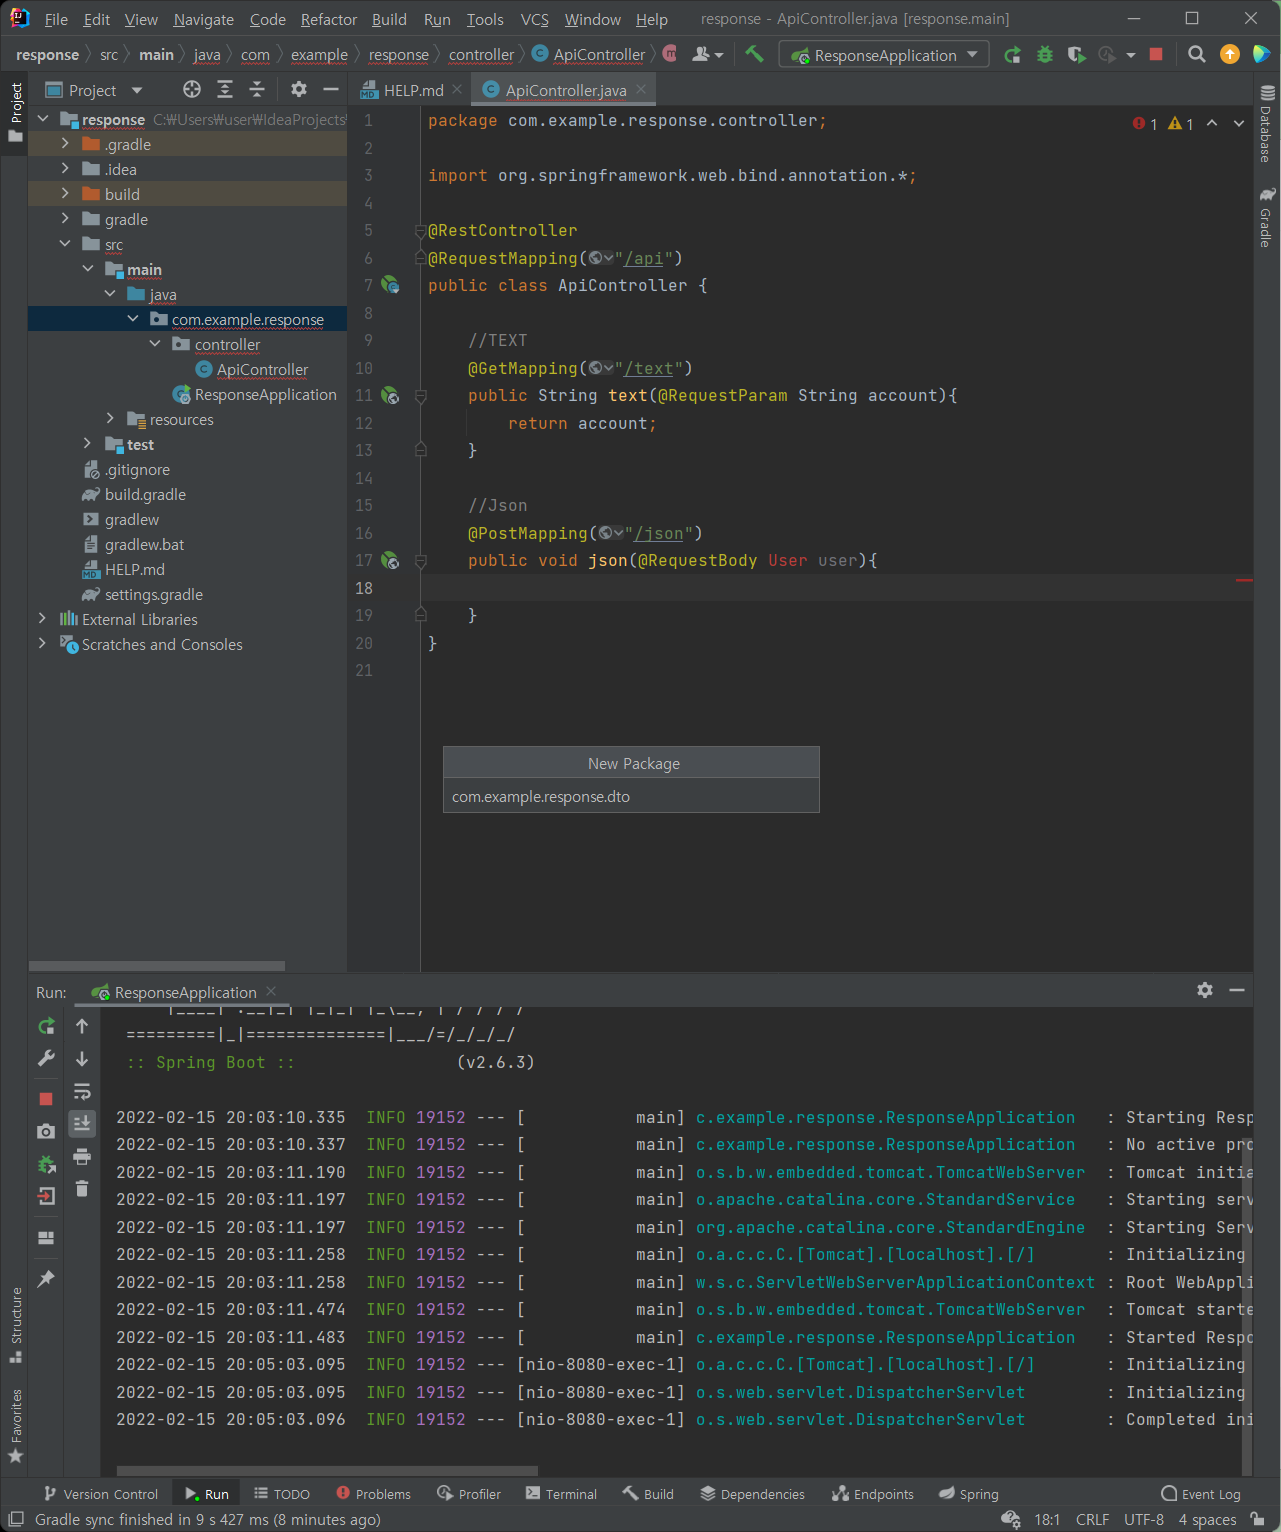
: dto 패키지를 생성하여, User 클래스를 추가해준다
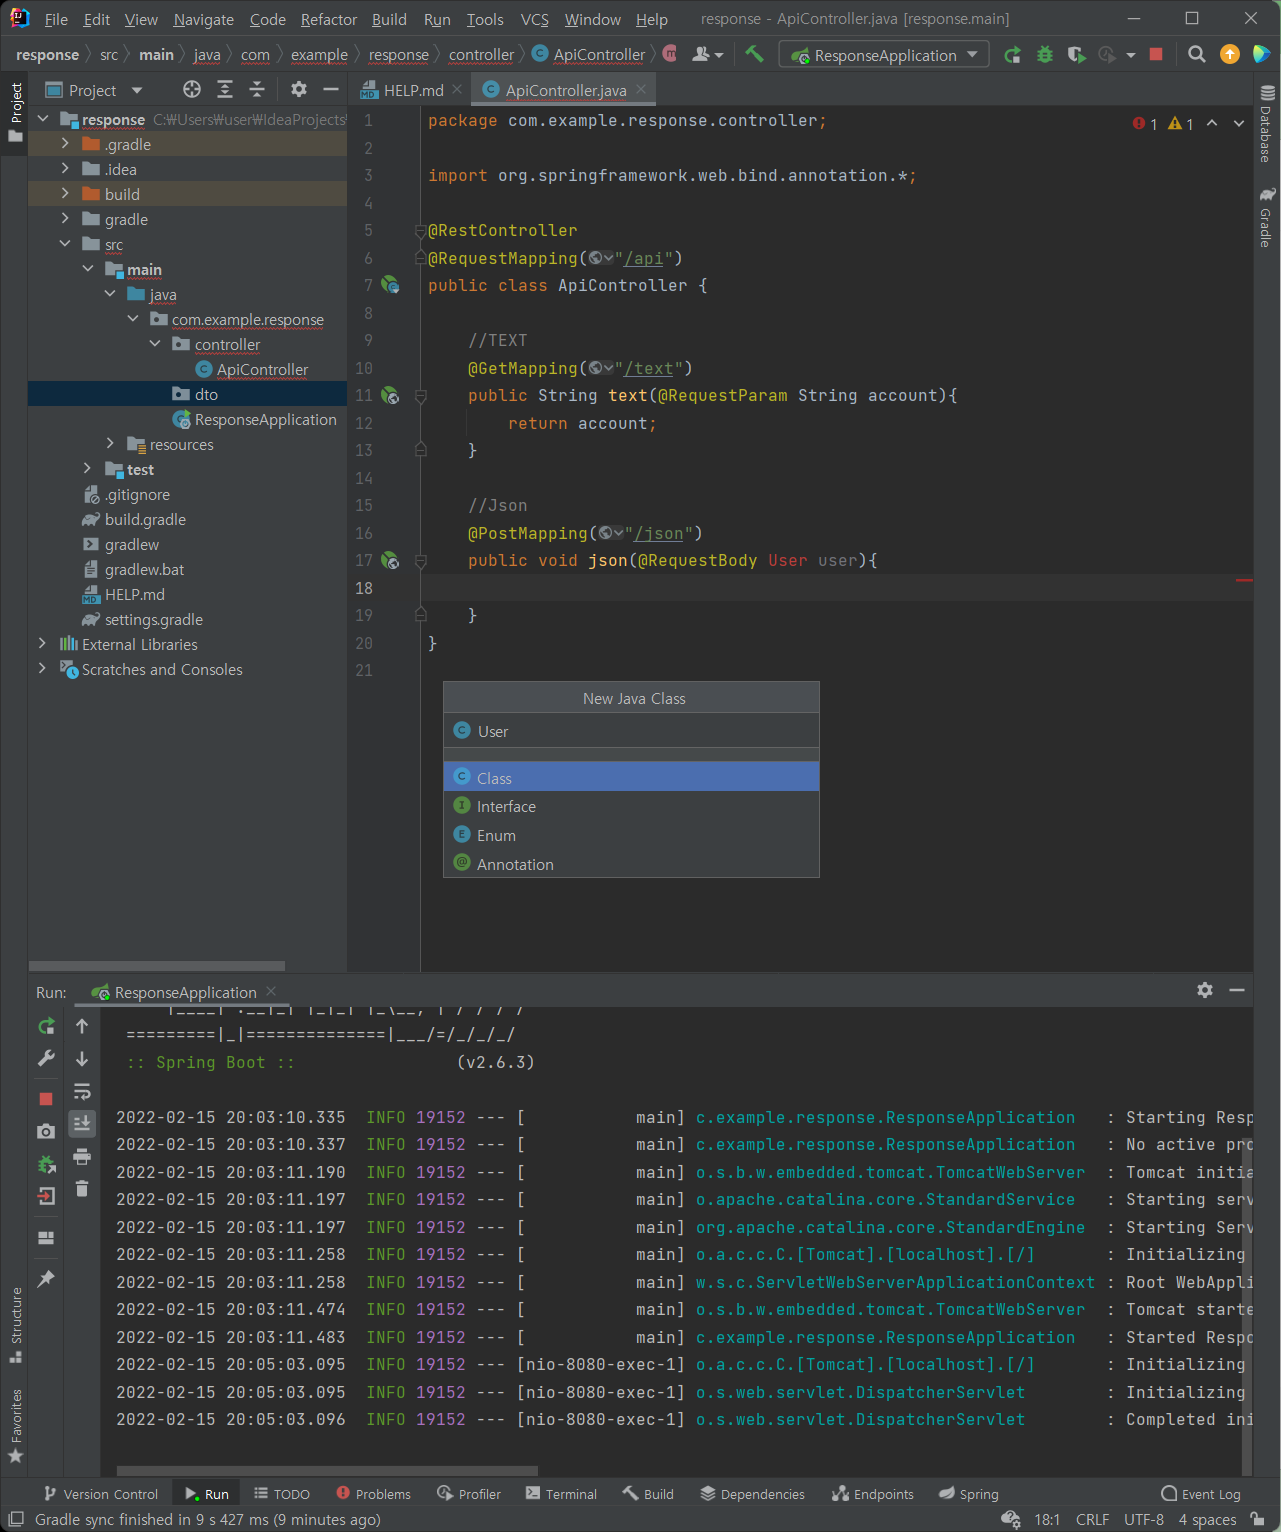
package com.example.response.dto;

public class User {
    private String name;
    private int age;
    private String phoneNumber;
    private String address;

    public String getName() {
        return name;
    }

    public void setName(String name) {
        this.name = name;
    }

    public int getAge() {
        return age;
    }

    public void setAge(int age) {
        this.age = age;
    }

    public String getPhoneNumber() {
        return phoneNumber;
    }

    public void setPhoneNumber(String phoneNumber) {
        this.phoneNumber = phoneNumber;
    }

    public String getAddress() {
        return address;
    }

    public void setAddress(String address) {
        this.address = address;
    }

    @Override
    public String toString() {
        return "User{" +
                "name='" + name + '\'' +
                ", age=" + age +
                ", phoneNumber='" + phoneNumber + '\'' +
                ", address='" + address + '\'' +
                '}';
    }
}
package com.example.response.controller;
import com.example.response.dto.User;
import org.springframework.web.bind.annotation.*;
@RestController
@RequestMapping("/api")
public class ApiController {
//TEXT
@GetMapping("/text")
public String text(@RequestParam String account){
return account;
}
//Json
//User를 그대로 return 해주자~
@PostMapping("/json")
public User json(@RequestBody User user){
return user;
}
}
(5) Talend API에서 테스트 해봅니다~
: (POST) http://localhost:8080/api/json
: (BODY) :
{
  "name" : "steve",
  "age" : 10,
  "phoneNumber" : "010-1111-2222",
  "address" : "서울"
}
결과:
| Content-Type: | application/json |
| Transfer-Encoding: | chunked |
| Date: |
Tue, 15 Feb 2022 11:17:58 GMT
|
| Keep-Alive: | timeout=60 |
| Connection: | keep-alive |
// req -> object mapper -> object -> method -> object -> object mapper -> json -> response(6) 모든 변수를 한번에 snake case 로 동작하도록 해보자
: User 클래스 위에 다음을 추가해준다
@JsonNaming(value = PropertyNamingStrategy.SnakeCaseStrategy.class)보낼때도 snake case로 던져줘야함~
{
  "name" : "steve",
  "age" : 10,
  "phone_number" : "010-1111-2222",
  "address" : "서울"
}
(7) 201응답을 내려주는 put mapping을 만들어보자
: Response를 내려줄 때 Http Status를 정해줄 것이기 때문에 다음과 같이 작성한다
//ResponseEntity
@PutMapping("/put")
public ResponseEntity<User> put(@RequestBody User user){
    return ResponseEntity.status(HttpStatus.CREATED).body(user);
}
(8) Talend API에서 테스트 해보자
: (PUT) http://localhost:8080/api/put
: (BODY) :
{
  "name" : "steve",
  "age" : 10,
  "phone_number" : "010-1111-2222",
  "address" : "서울"
}
결과:
| Content-Type: | application/json |
| Transfer-Encoding: | chunked |
| Date: |
Tue, 15 Feb 2022 11:31:23 GMT
|
| Keep-Alive: | timeout=60 |
| Connection: | keep-alive |
(9) Html 페이지를 리턴해주는 컨트롤러를 만들어보자
: controller에 PageController 클래스 추가
package com.example.response.controller;

import org.springframework.stereotype.Controller;
import org.springframework.web.bind.annotation.RequestMapping;

@Controller
public class PageController {

    @RequestMapping("/main")
    public String main(){
        return "main.html";
    }
}
(10) resource 폴더 > static > 마우스 우측 클릭 > New > HTML file > main.html

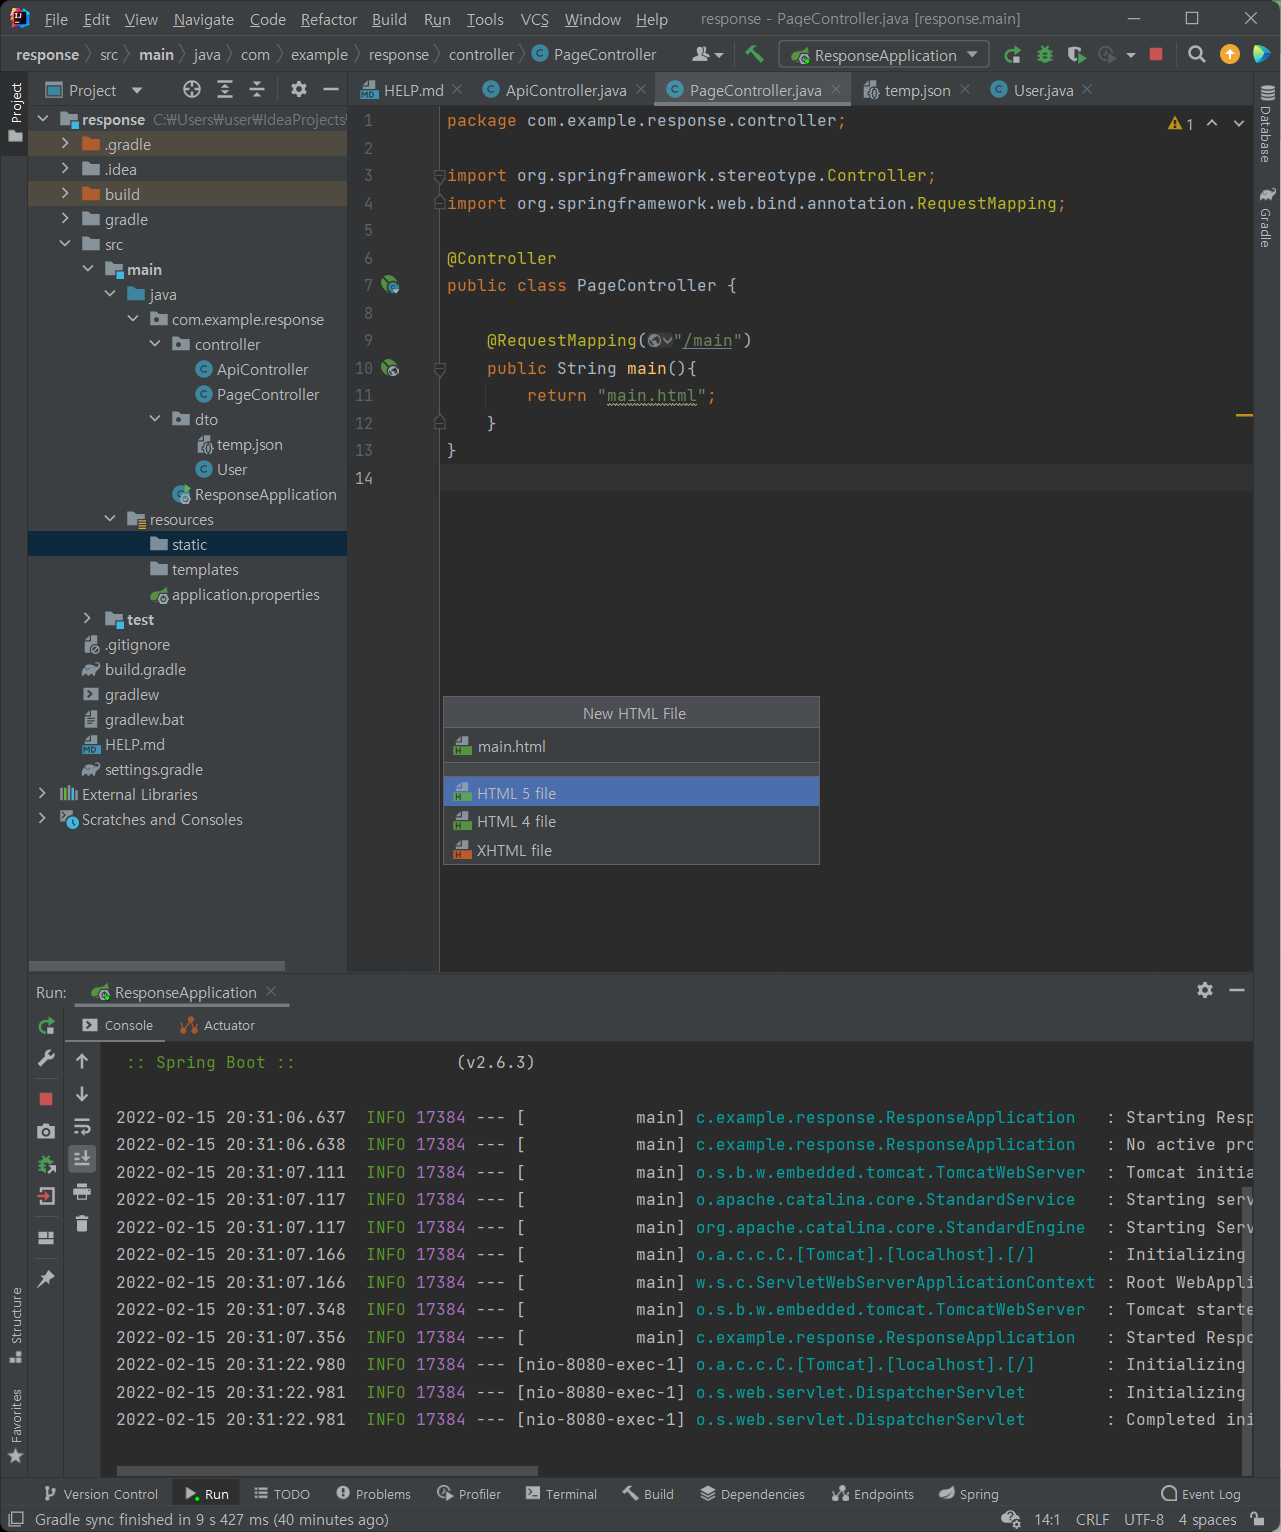
<!DOCTYPE html>
<html lang="en">
<head>
    <meta charset="UTF-8">
    <title>Title</title>
</head>
<body>
Main Html Spring Boot
</body>
</html>
(11) localhost:8080/main 으로 가면 해당 화면을 볼 수 있다!

(12) Talend API에서 테스트 하면
: (GET) http://localhost:8080/main
| accept-ranges: | bytes |
| connection: | keep-alive |
| content-language: | ko-KR |
| content-length: | 153 bytes |
| content-type: | text/html |
| date: |
Tue, 15 Feb 2022 11:45:35 GMT
|
| keep-alive: | timeout=60 |
| last-modified: | |
| vary: | Origin, Access-Control-Request-Method, Access-Control-Request-Headers |
<!DOCTYPE html>
<html lang="en">
<head>
    <meta charset="UTF-8">
	<title>Title</title>
</head>
<body>
Main Html Spring Boot
</body>
</html>
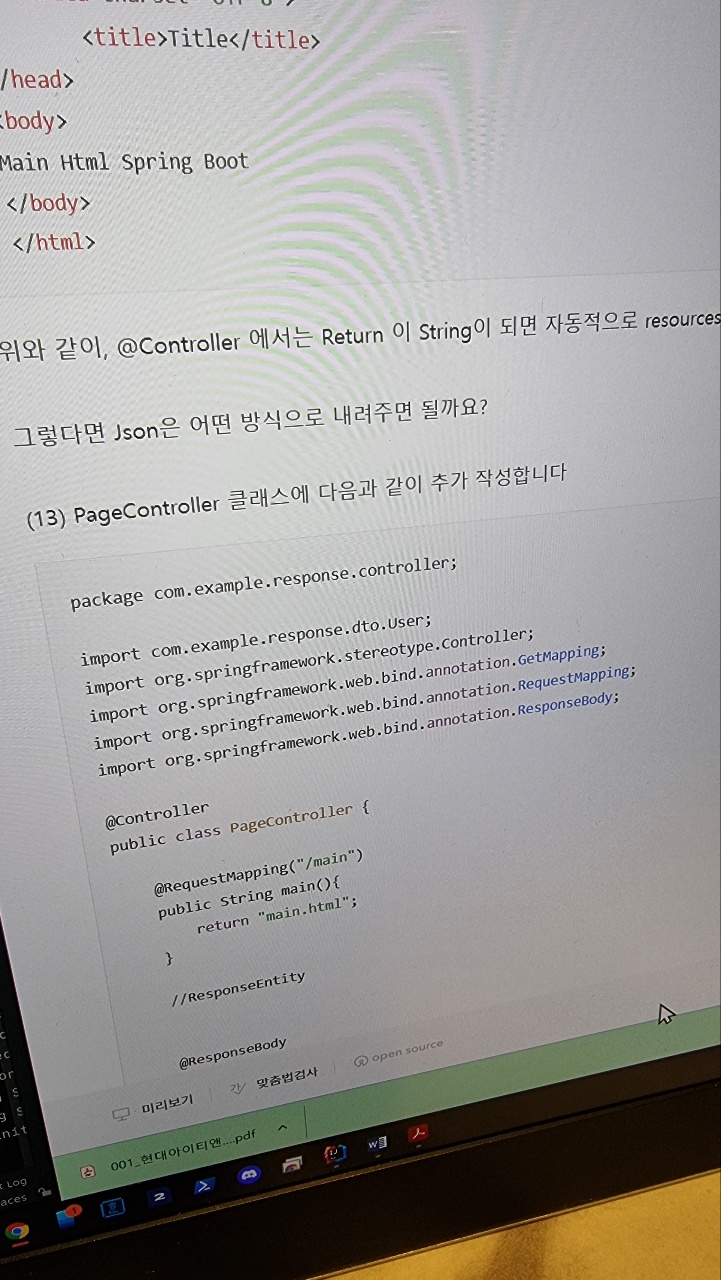
위와 같이, @Controller 에서는 Return 이 String이 되면 자동적으로 resources에 있는 html 파일을 찾아가게 됩니다.
그렇다면 Json은 어떤 방식으로 내려주면 될까요?
(13) PageController 클래스에 다음과 같이 추가 작성합니다
package com.example.response.controller;

import com.example.response.dto.User;
import org.springframework.stereotype.Controller;
import org.springframework.web.bind.annotation.GetMapping;
import org.springframework.web.bind.annotation.RequestMapping;
import org.springframework.web.bind.annotation.ResponseBody;

@Controller
public class PageController {

    @RequestMapping("/main")
    public String main(){
        return "main.html";
    }

    //ResponseEntity


    @ResponseBody
    //객체를 찾지 않고 ResponseBody를 만들어 내리겠다~ 라는 어노테이션
    @GetMapping("/user")
    public User user(){
        var user = new User();
        user.setName("steve");
        user.setAddress("서울");
        return user;
    }
}
(14) Talend API에서 테스트 합니다
: (GET) : http://localhost:8080/user
결과 :
| Content-Type: | application/json |
| Transfer-Encoding: | chunked |
| Date: |
Tue, 15 Feb 2022 11:53:39 GMT
|
| Keep-Alive: | timeout=60 |
| Connection: | keep-alive |
: age는 int이므로 기본값이 0, phone_number 는 null 둘다 입력하지 않았으므로, age도 null로 받고 싶다면, User 클래스에서 int가 아닌 Integer로 선언해서 받도록 한다
(15) 만약 (14)의 body에서 처럼 null 값인 것은 받고 싶지 않다면? User 클래스 상단에 다음과 같이 추가해준다
@JsonInclude(JsonInclude.Include.NON_NULL)결과:
| Content-Type: | application/json |
| Transfer-Encoding: | chunked |
| Date: |
Tue, 15 Feb 2022 11:59:55 GMT
|
| Keep-Alive: | timeout=60 |
| Connection: | keep-alive |
23일차 강의 완료~

패스트캠퍼스 [직장인 실무교육]
프로그래밍, 영상편집, UX/UI, 마케팅, 데이터 분석, 엑셀강의, The RED, 국비지원, 기업교육, 서비스 제공.
fastcampus.co.kr
본 포스팅은 패스트캠퍼스 환급 챌린지 참여를 위해 작성되었습니다.
'개발새발 > Spring' 카테고리의 다른 글
| 220217_스프링 입문_스프링을 조금 더 들여다보기_스프링의 핵심_패스트캠퍼스 챌린지 25일차 (0) | 2022.02.17 |
|---|---|
| 220216_스프링 입문_스프링 부트 시작하기_Object Mapper 및 모범사례_패스트캠퍼스 챌린지 24일차 (0) | 2022.02.16 |
| 220214_스프링입문_스프링 부트 시작하기_DELETE API_패스트캠퍼스 챌린지 22일차 (0) | 2022.02.14 |
| 220213_스프링입문_스프링 부트 시작하기_PUT API_패스트캠퍼스 챌린지 21일차 (0) | 2022.02.13 |
| 220212_스프링입문_스프링 부트 시작하기_POST API_패스트캠퍼스 챌린지 20일차 (0) | 2022.02.13 |